Finally, Part 2 of the skeleton key project...

See Part 1 here where I recovered my old pillows.
I have finally filled all my frames on my photo collage wall so I have to show you.
Cost... ????
Gathered a number of frames over the last couple years. Some were from the table numbers at my wedding, but sprayed all my frames black to match. I got the larger ones at Michael's on sale using a 40% off coupon each time, and even scoring one on clearance. The smaller ones are all plain wooden frames from Ikea. Getting all the photos printed was a bit pricy though.
I marked off on my kitchen floor the size of the space on the wall I wantec to fit the frames in. I then was able to lay out all the frames and rearrange them until I was happy with the layout. I took a picture on my phone, then moved the frames over to the wall. I marked a top and bottom line on the wall with chalk and a level. As I have a sloped roof it is hard to hang anything straight otherwise.
You could also use craft paper right on the wall, but then you have to cut out all the sizes and tape and be careful when shuffling things around. Either way works.
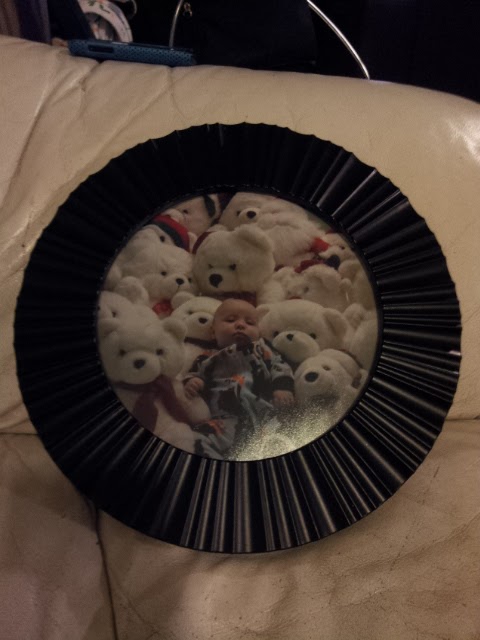
I found these great round mirrors at Walmart!
Here is a picture of my son on his brand new Floor Pillow that I made.
 | |
| Round Photo Frame from Walmart |
Here is the completed wall, I know it looks a bit off but I had to take the picture at a bit of an angle so that the reflection of the livingroom window didn't blank out half the frames.
No comments:
Post a Comment
If you have any questions, or I have missed anything, please leave me a comment and I will do my best to answer. I would also welcome leaving a link or picture of your completed project!